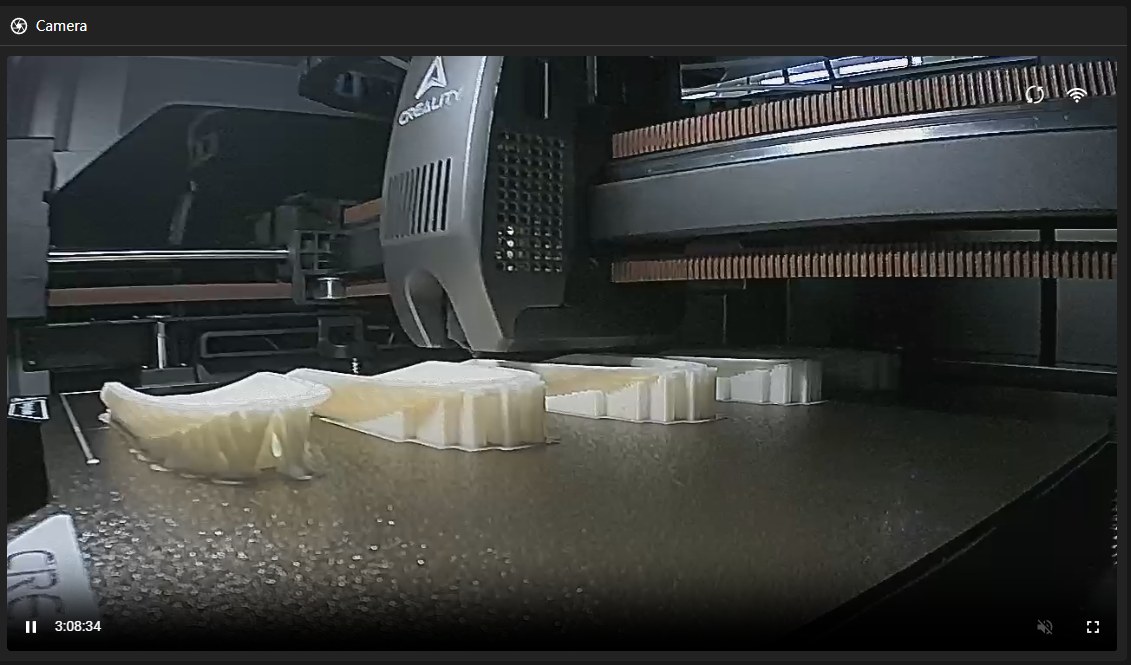
Learning 3D Printing, Hands-On
Outside of coursework I'm teaching myself the craft of 3D printing from the ground up, one print at a time. My aim is to own the whole fabrication loop, from a model to a clean, dimensionally accurate part, so that the resume-worthy builds I have planned actually come off the plate the way I designed them. This page is the running log of that, and the first of many 3D-printing projects to come.
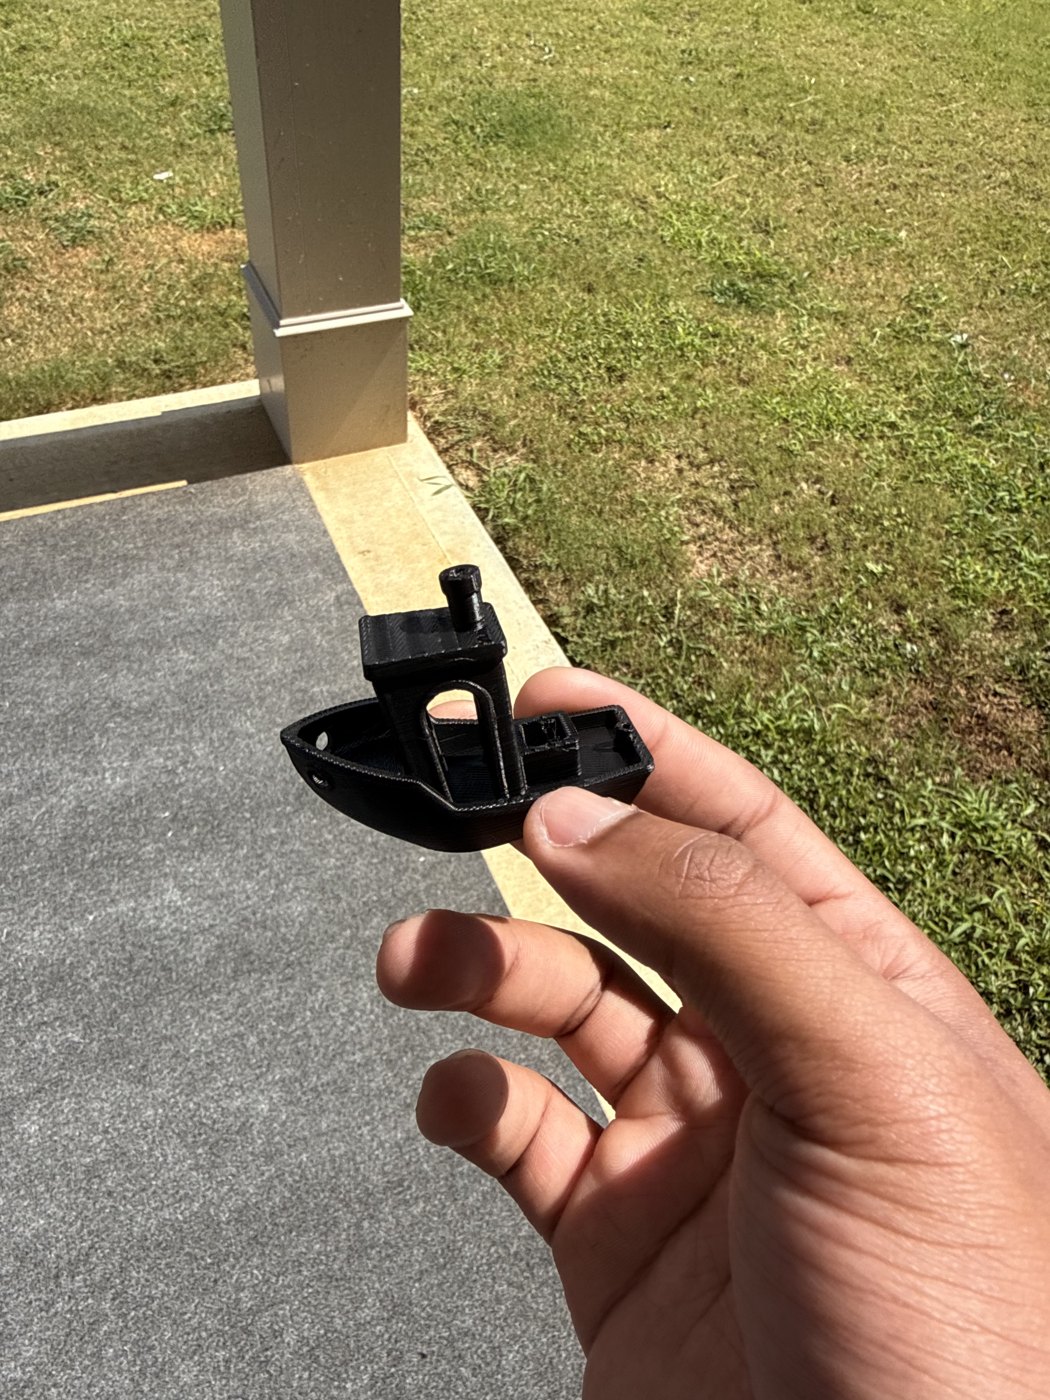
I began the way you prove out any machine: with a calibration print. The little boat below is a 3DBenchy, the standard torture-test that packs overhangs, bridges, curves, and tight tolerances into one small part. Reading where it prints clean and where it doesn't tells me exactly what to adjust, and it's how I'm learning to diagnose a printer by eye instead of guessing.
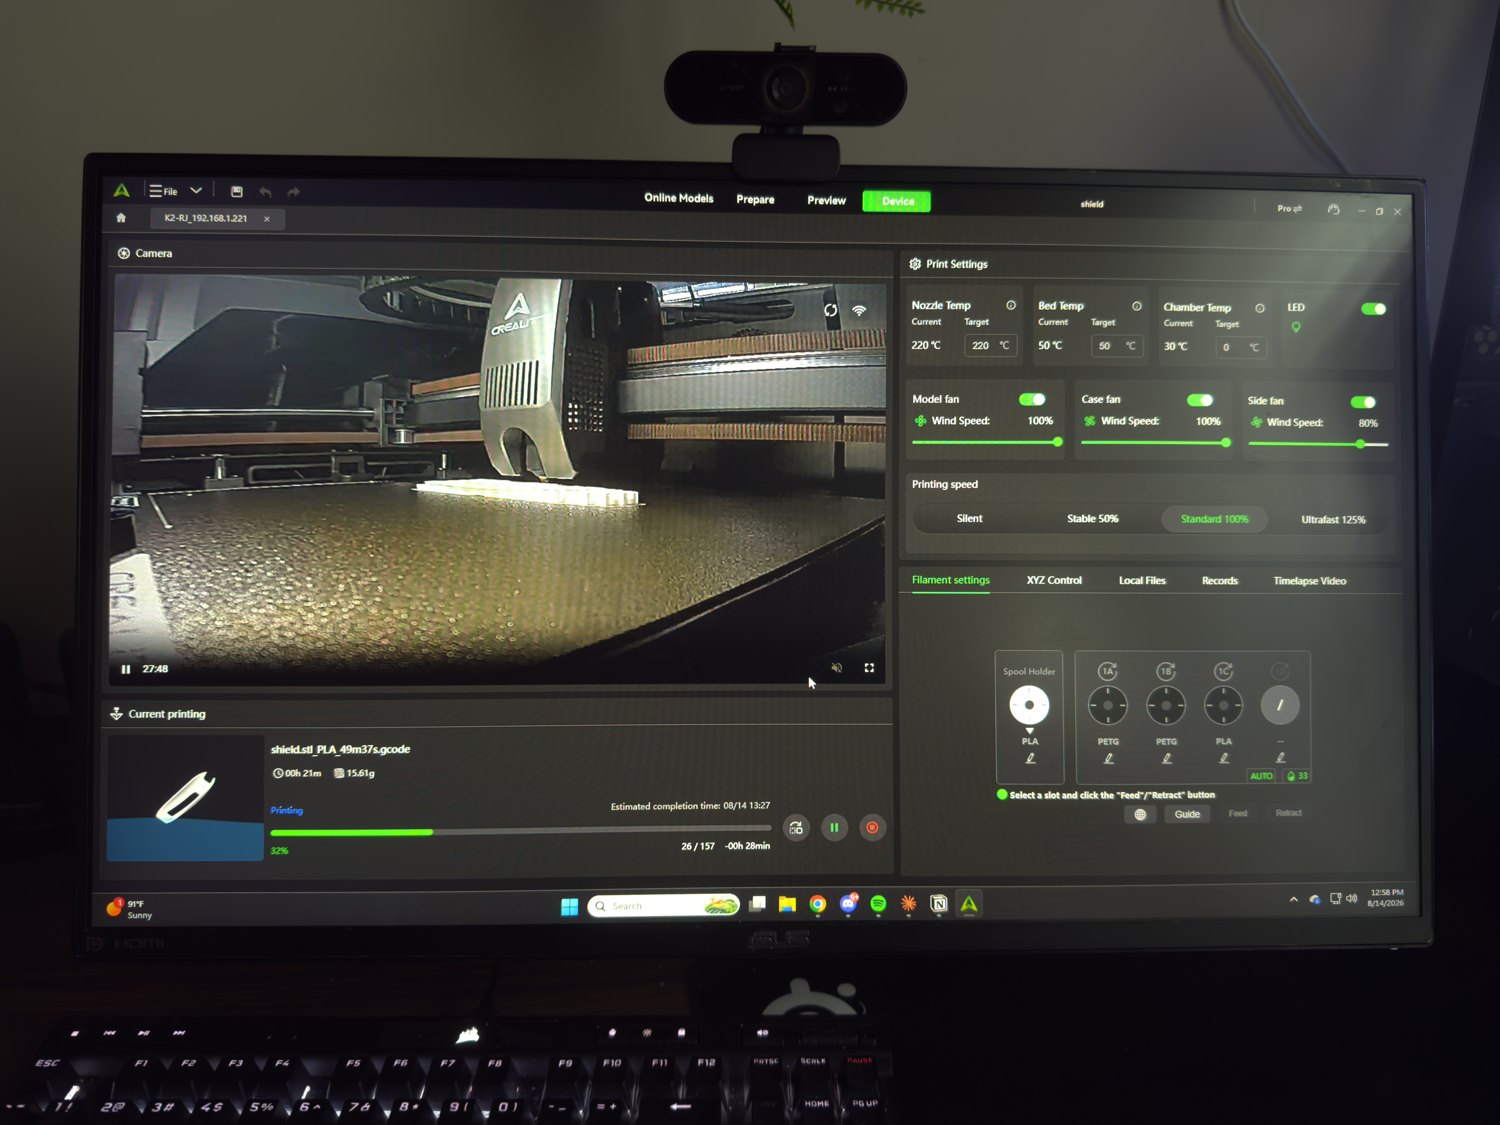
Every print is a chance to get a feel for the variables that decide whether a part succeeds, and these are the ones I'm learning to control and will lean on for the rest of this project:
| Principle | What I'm dialing in |
|---|---|
| Thermal control | Nozzle and bed temperatures for adhesion and clean layers (e.g. 220°C nozzle, 50°C bed for PLA) |
| Cooling | Fan speeds to freeze overhangs and bridges without warping |
| Layer & speed | Layer height and print speed, trading detail against time |
| Adhesion | First-layer squish and bed prep so parts don't lift |
| Orientation & supports | Placing the part to minimize supports and put strength where it's needed |
| Tolerances | Compensating for real-world shrink and slop so parts fit |
| Material | PLA now; PETG and tougher filaments as parts get more demanding |
This is the same fabrication thinking behind my scaffold work, strut junctions, print orientation, and effective cross-sections, just at the machine instead of in a report. Getting fluent with a real printer is what turns a good CAD model into a part that actually performs.
With the printer dialed in, I'm moving from calibration prints to functional parts and my own designs, documenting each build here as I go.